
The kitchen is the heart of any home. The place where family and friends gather to cook, eat, laugh, and spend time together. When you have guests coming over for a holiday dinner, you want everything to be perfect.
That includes having a clean kitchen! Here is the checklist to make sure that your kitchen always looks its best:
Clean the stovetop and oven

Cleaning the stovetop is another area that requires special attention. You can use a damp cloth to wipe down flat surfaces and grills.
But for more stubborn stains you’ll need something stronger like baking soda or lemon juice mixed with water – which should be left on to dry before wiping off any residue
For deeper stains, try using salt mixed with water instead of regular dish soap; this will allow you to put more pressure on stubborn grime without scratching the surface.

Prices pulled from Amazon Product Advertising API on:
Product prices and availability are accurate as of the date/time indicated and are subject to change. Any price and availability information displayed on [relevant Amazon Site(s), as applicable] at the time of purchase will apply to the purchase of this product.
When cleaning an oven there are typically three areas that need attention: inside the door panel where crumbs get caught (try wiping down with a sponge), in front of built-in elements like heat coils and under racks where burned-on grease collects (a dryer sheet works wonders) and along edges for any spilled liquids. set aside immediately before they have a chance to really dry and set.
With ovens, it’s important not only to clean the inside but also the outside: use hot water mixed with baking soda on stubborn stains or for quick touch-ups between major cleans.
This will avoid build-ups of dried food residue which may lead to odor problems later on.
Scrub out and clean the sink
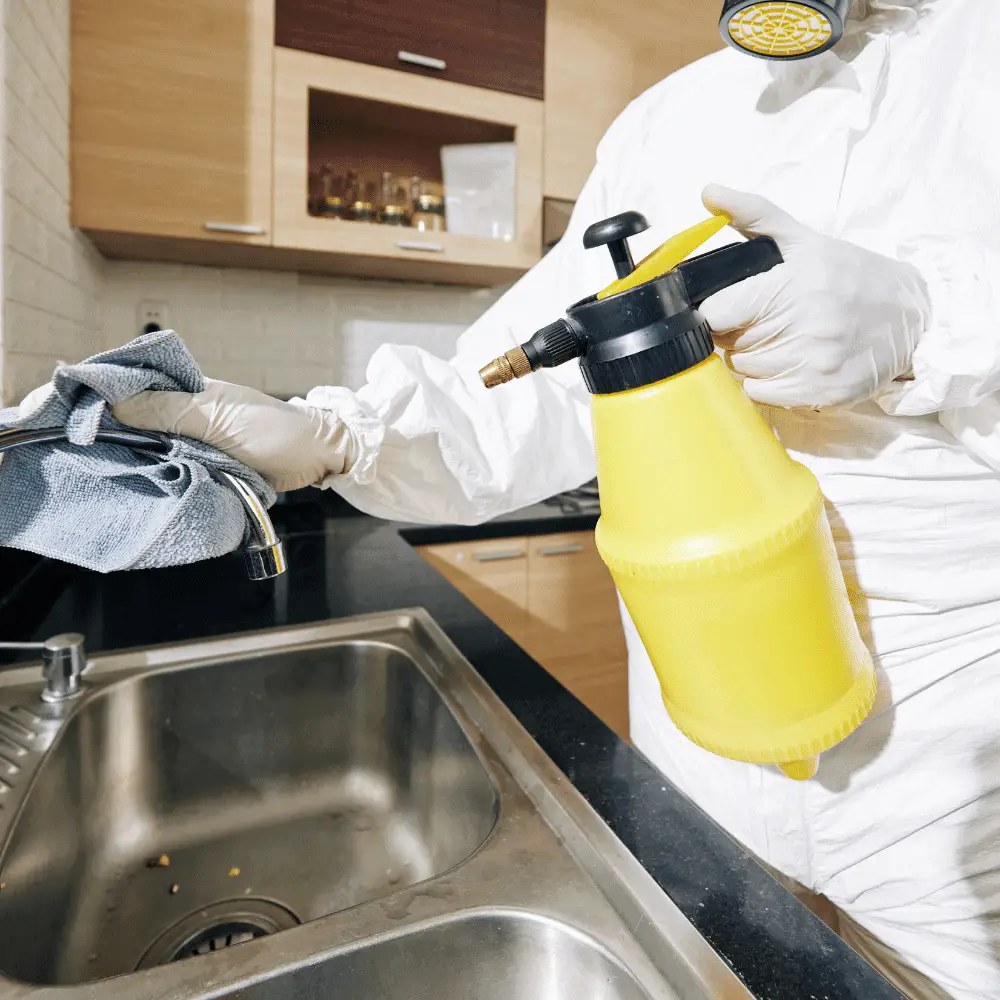
Step One
Wipe down the entire surface of your sink with non-abrasive cleanser and water.
Then use a sponge or rag to clean out any stuck on food from inside the drain so it doesn’t clog up later!
Step Two: Tackle those countertops, before you tackle anything else in the kitchen!. Grab that cleaner again and use as directed above for cleaning your counters.
Step Three: Get your bucket and fill it up with hot water and a tablespoon of dish detergent. Use this to scrub down any hard-to-reach areas that need some deep cleaning love.
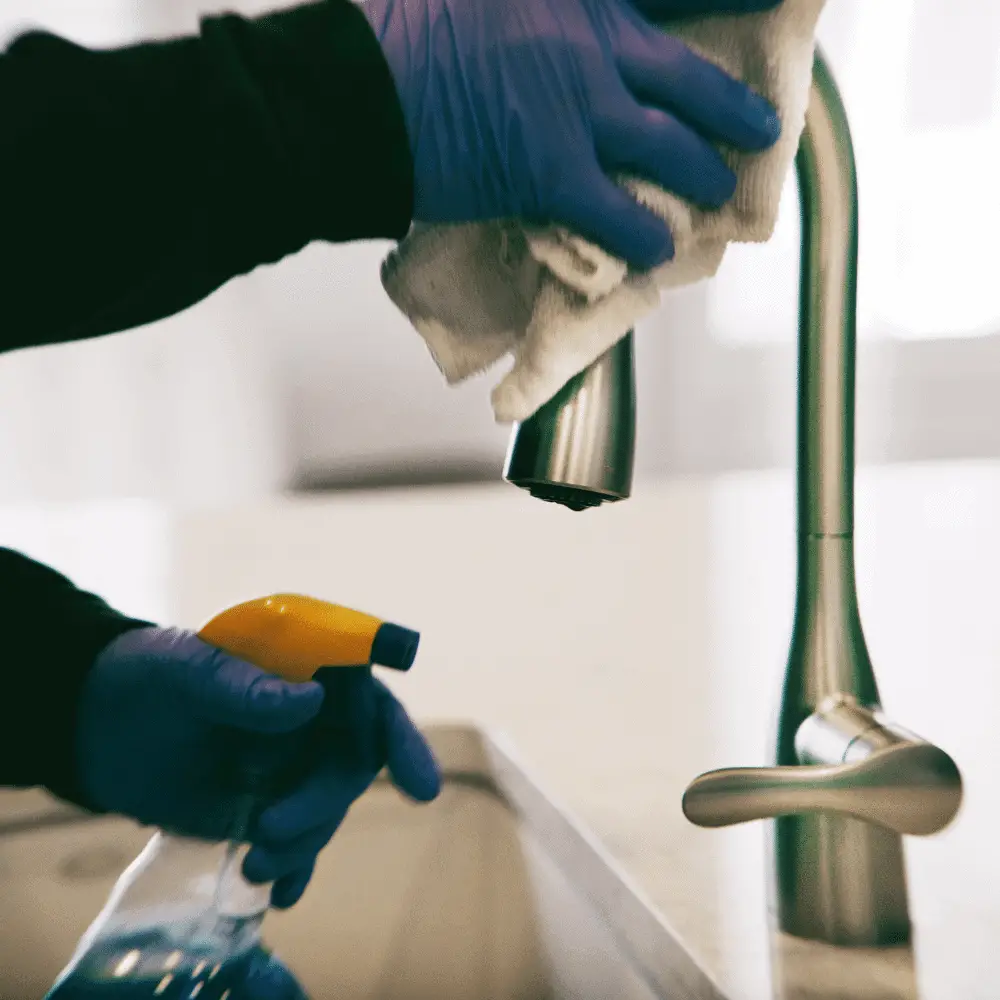
Step four: Wipe away any leftover soap or grime from around the edges/sides of your sink with a sponge soaked in warm water mixed with vinegar (this will make things super shiny!). Then turn on your faucet head for two minutes to rinse off any residual cleaner before you shut off the faucet.
If you have more than one sink – repeat steps One through Five on the other side! If not, congratulations.
Also, you can use cool water and soap-filled sponge in the sink to wash dishes (save yourself from having to scrub grease off of pans on an already dirty surface), making sure not to run leftover food particles into drain pipes.
Dispose of scraps immediately when finished; this prevents attracting bugs that can harmfully contaminate your home.
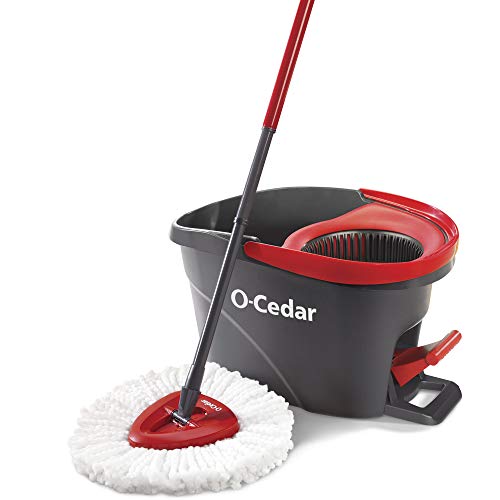
Sweep and mop the floor
Prices pulled from Amazon Product Advertising API on:
Product prices and availability are accurate as of the date/time indicated and are subject to change. Any price and availability information displayed on [relevant Amazon Site(s), as applicable] at the time of purchase will apply to the purchase of this product.
The kitchen floor should be swept and mopped every day.
If the floor is tiled, use a wet mop to remove dirt or spills from tiles as soon as they happen. If it’s wooden or vinyl floors then make sure you use warm water with no detergent on your mop head to avoid streaking.
In between major cleanings, sweep the floor with an old-fashioned broom – which can pick up dust that settles in cracks and crevices.
To keep things simple just shake out any crumbs under the table before wiping down chairs if necessary (or after sweeping).
Remove leftover food
Remove any food from your countertops that can’t be put in a dishwasher or refrigerator and put them in the trash.
Figure out if you have enough garbage bags for the trash and dishwasher.
If so, put them next to the kitchen sink with a roll of paper towels nearby. A good rule is not let there be more than two days worth of dishes piled up at one time.
Because it’s becoming too much work to do all at once – which means they don’t get done as often as needed!
Wipe down all cabinets, drawers, and shelves with a damp cloth.
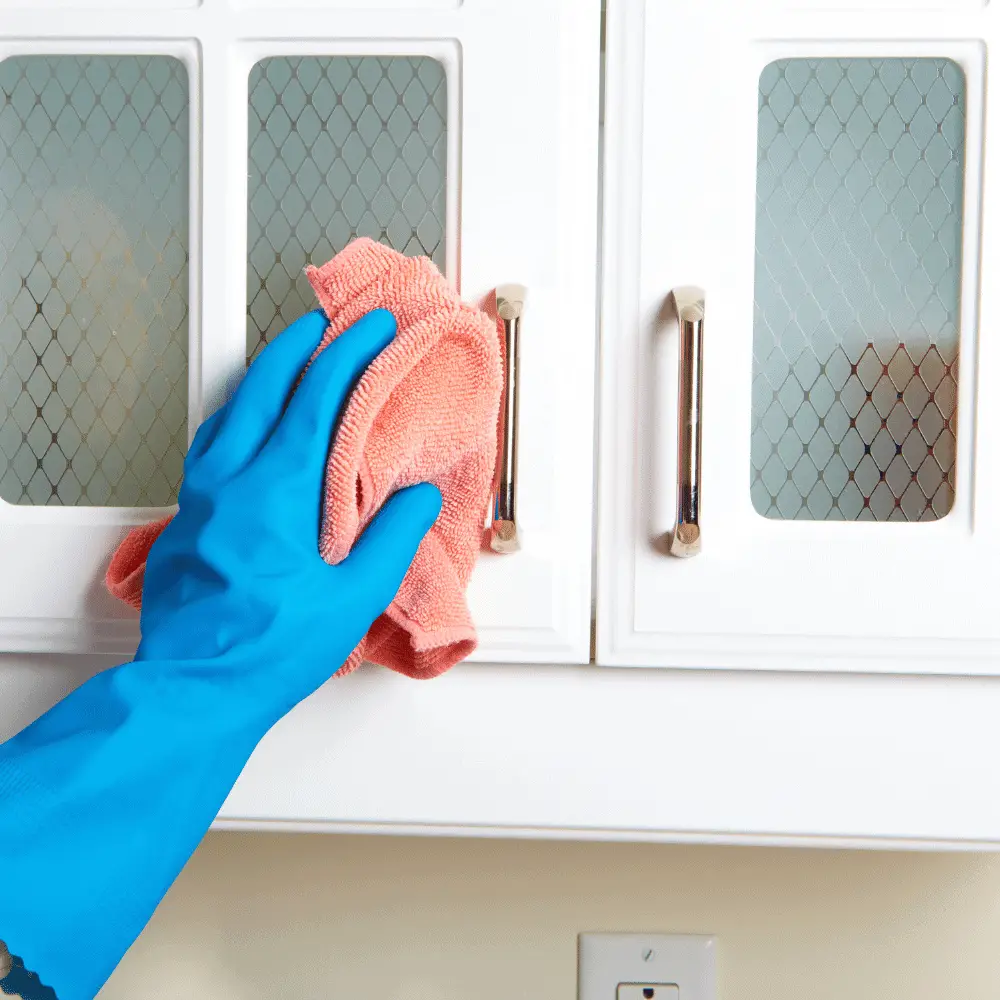
It’s easy to get stuck in this routine but if you want to speed up the process or go back over any areas already cleaned just use paper towels instead.
When using these disposable wipes eliminate as much liquid as possible after each pass by using a new sheet every time until it is completely dry.
This eliminates excess lint since even little bits can cause scratches on pots and pans so be sure to clean all nooks and crannies including those hard-to-reach places like along edges where counter meets cabinet.
Wipe down all appliances with an approved cleaner or soap-filled sponge
Wipe down the kitchen gadgets with a special cleaner or vinegar for tough spots, then wipe dry to reveal clean and shiny surfaces . This will leave your kitchen smelling fresh!
Wipe down doors and handles
Wipe down all of the handles, knobs and appliances in your kitchen. As with any cleaning task, you should wipe from top to bottom.
So that dirt doesn’t get dragged across surfaces as you’re working on them. If there’s a space between two different materials (metal door handle against wood cabinet) be sure to use a soft cloth or sponge for each surface type.
There are many other small places where dirt hides: corners around the sink; underside of cabinets; pots and pans hanging over the stovetop; backsplash behind cooktops.
Dust, crumbs and debris can accumulate everywhere.
To clean these areas properly consider using an extendable brush attachment or large vacuum cleaner attachments like furniture brushes which often have good suction.
Wash dishes in the dishwasher or by hand
The dishwasher is an excellent invention for saving time; it’s just not the only option. Dishes can also be washed by hand using a scrubbing brush and hot soapy water.
A sponge dipped in soap is effective too. If you choose to wash dishes by hand, be sure to dry them as soon as possible to avoid any food particles from sticking!
Clean out your refrigerator & don’t forget to wipe down the inside!
Don’t leave the refrigerator for more than two days without cleaning out its contents and wiping down the inside with an antibacterial wipe.
Leaving dishes and food to fester inside the refrigerator can create a breeding ground for bacteria, which is not healthy.
Clean out your freezer!
It’s important to maintain what goes in there too because when things go bad they will quickly contaminate other frozen foods nearby. When time allows,
empty all of the contents into gallon-sized sealable bags or containers sorted by type (i.e., fruit vs meat) and store them outside until trash day arrives then throw away these packages right along with any spoiling items that were left at room temperature during this process.
Use Vacuum Cleaner
Vacuum up any spilled food & pet hair on the floor or under cabinets so it doesn’t attract bugs. Also, suck out anything left on shelves, racks or in cabinets.
Get inside drawers by pulling them all the way open and then sucking debris off of their surfaces with your vacuum cleaner attachment. (Turn off machine before you do this.)
If there are dust bunnies under appliances, use a whisk broom or brush to get at them but be careful not to pull it loose so that it falls into something else like an oven or dishwasher!
Clean knives
Clean knives by wiping them off with paper towel after each one has been used. If they are not used, rinse them in hot water and dry thoroughly.
Be careful when using sharp objects to clean your knife set! To avoid injury, always put down a towel and then lay out each blade flat over it so you can wipe without having to worry about cutting yourself if one slips away from you during this process.
Empty all trash cans
Dispose of trash properly for optimal living conditions: use garbage bins for anything small enough; recycle bottles, cans and cardboard boxes; put larger items like leftovers into sealed bags before throwing them away outside.
Empty all trash cans into a garbage bag and tie it shut. Throw away anything that’s rotting, smells bad or is past its expiry date in the fridge & freezer. Make sure to remove any plastic wrap as well before you throw the food out because it can’t be recycled.
Remove any spoiled leftovers from other containers like microwaves or ovens and discard them as well.
Final Stage of cleaning kitchen
Place clean items back where they belong so nothing breaks during this process (you don’t want glass shards everywhere).
Put smaller jarred items on top shelves of cabinets for storage purposes but always use lids when doing so since kids are typically more comfortable with such accessibility.
And put away any clutter in the kitchen that you can find (i.e., old clothes, shoes).
Lastly, invest in some plastic containers for leftovers and stick to those expiration dates! This way, you’ll always know when an item goes bad or if it’s still good before you go eating something that could make your stomach hurt later on down the line!
Clean up yourself!
The last thing anybody wants is food poisoning after you just cleaned your kitchen from top to bottom because somebody else made a mess behind closed doors.
So, it’s always best to clean up after yourself and not leave anything behind that could potentially make other people sick.
We hope you found these tips helpful, and if we missed any of them or there’s anything not mentioned in our list – feel free to let us know